Japan High-Speed Pocket Wifi Router Rental
Steps to Rent and Return
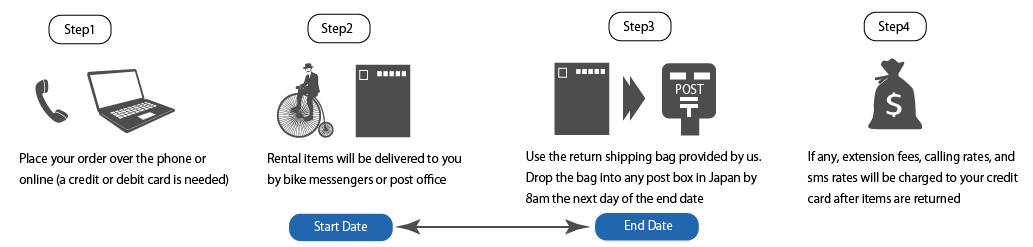
Step1
We accept orders for WiFi, SIM cards, and smartphones online. A credit card is required to place an order. Orders can be placed from overseas, but the delivery address must be within Japan.
Step2
After receiving your order, we will ship the products from our company. The delivery will be handled by the post office or a bike messenger. If the delivery address is a hotel, we will send it to the front desk. If the delivery address is an Airbnb, a signature will be required upon receipt.
Step3
We include a return envelope with the WiFi, SIM cards, and smartphones. Please use this envelope to return the items via any postal mailbox. Returns can be made from any postal mailbox within Japan.
Step4
After we receive the rental items, if there are any additional charges, we will send you a receipt by email.
Earliest delivery date and time by areas and order times. The flat shipping rate includes return shipping.
EDD
| Delivery Area |
Order Time (JST) |
EDD (JST) |
| Tokyo 23 wards |
Before 11am (Mon-Sat)
Before 5pm (Everyday) |
On the same-day (5pm to 8pm)
Next-Day by noon |
| Kanto (Chiba, Kanagawa, Saitama, etc.) |
Before 7am (Mon-Sat)
Before 5pm (Everyday) |
On the same-day (5pm to 8pm)
Next-Day by noon |
| Chubu, Kansai (Osaka, Kyoto, etc.) |
Before 5pm (Everyday) |
Next-Day by noon |
| Other Areas |
Before 5pm (Everyday) |
Two days later |
* All orders after 5pm will be treated as orders of next day.
* We do not deliver to Okinawa, a part of Hokkaido, Kyushu, etc.
* EDD above do not apply to Post Office or Airport deliveries.
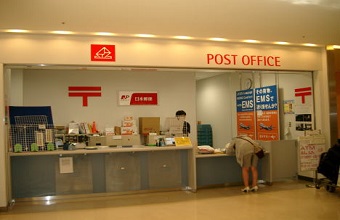
We can deliver rental items to airport post offices and counters below for you to pick up on your arrival.Please note that you can pick up rental items only during business hours of each post office with showing your passport.
| Airport / Business Hour |
Address |
Delivery Time |
Haneda Airport
24/7 |
Tokyo, Haneda Airport International Terminal 3F, JAL ABC Counter
(This counter is crowded) |
2nd Day by 9am |
Narita Airport Terminal 1
8:30 - 20:00 (open 365 days) |
Chiba, Narita Airport Terminal 1, 4F Post Office |
Next Day by noon |
Narita Airport Terminal 2
8:30 - 20:00 (open 365 days) |
Chiba, Narita Airport Terminal 2, 3F Post Office |
Next Day by noon |
New Chitose Airport
9:00 - 17:00 (open 365 days) |
Hokkaido, New Chitose Airport Terminal, 2F Post Office |
2nd Day by noon |
Central Japan International Airport
6:30 - 21:30 (open 365 days) |
Aichi, Central Japan International Airport Terminal 1, 3F JAL ABC Counter |
2nd Day by 9am |
Kansai International Airport
6:30 - 22:30 (open 365 days) |
Osaka, Kansai International Airport Terminal 1, 4F JAL ABC Counter
(This counter is crowded) |
2nd Day by 9am |
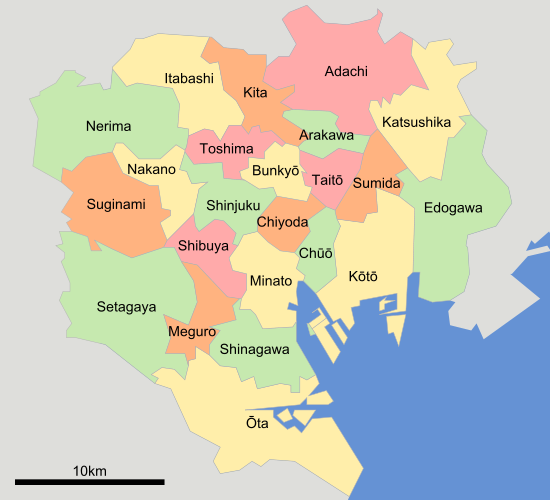
If you stay in Tokyo 23 wards, place your order before 11am on Mon-Sat, you can get your rental items on the same day.
-
1. Adachi
-
2. Arakawa
-
3. Bunkyo
-
4. Chiyoda
-
5. Chuo
-
6. Edogawa
-
7. Itabashi
-
8. Katsushika
-
9. Kita
-
10. Koto
-
11. Meguro
-
12. Minato
-
13. Nakano
-
14. Nerima
-
15. Ota
-
16. Setagaya
-
17. Shibuya
-
18. Shinagawa
-
19. Shinjuku
-
20. Suginami
-
21. Sumida
-
22. Taito
-
23. Toshima
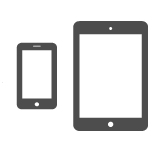
Connecting Smartphones or Tablets
- 1. Press the power button of the router for over three seconds to turn the power on.
- 2. In the menu of the smartphone or tablet, select "Settings".
- 3. In the setting screen, select "Wifi".
- 4. Turn Wifi "ON" from "OFF".
- 5. Select an Item Indicating "SSID (L02F_... or L01G_...)", which is also written on the back of the router.
- 6. Enter "Security Key" written on the back of the router into "Password" correctly and select "Connect (or Join)".
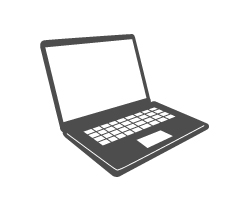
Connecting Windows PC (Windows 8.1)
- 1. Press the power button of the router for over three seconds to turn the power on.
- 2. Turning on Wifi function on PC.
- 3. On the desktop screen, swipe from the right of the screen (point the top right of the screen in case of mouse)->from charm, click the icon of "Setting".
- 4. Click the icon of "Network" to display the network list screen.
- 5. Click the Item Indicating "SSID (L02F_... or L01G_...)", which is also written on the back of the router and select "Connect".
- 6. Enter "Security Key" written on the back of the router into "Security key" correctly and click "OK".
Connecting MAC PC
- 1. Press the power button of the router for over three seconds to turn the power on.
- 2. From apple menu, select "System Preferencesń¬Č’Į”", then select "Network".
- 3. Select "Wifi" and click "Turn Wifi On".
- 4. Click "Network Name" and select an Item Indicating "SSID (L02F_... or L01G_...)", which is also written on the back of the router.
- 5. Enter "Security Key" written on the back of the router into "Password", select "Remember this network" and click "Join".